DaVinci Resolve free on a MacBook Pro M3: installation, settings and first edit
Step-by-step guide to installing DaVinci Resolve for free on a MacBook Pro with M3 chip, with optimal settings for Apple Silicon and a real first edit. It includes an honest comparison with Final Cut Pro and solutions to the most common problems.
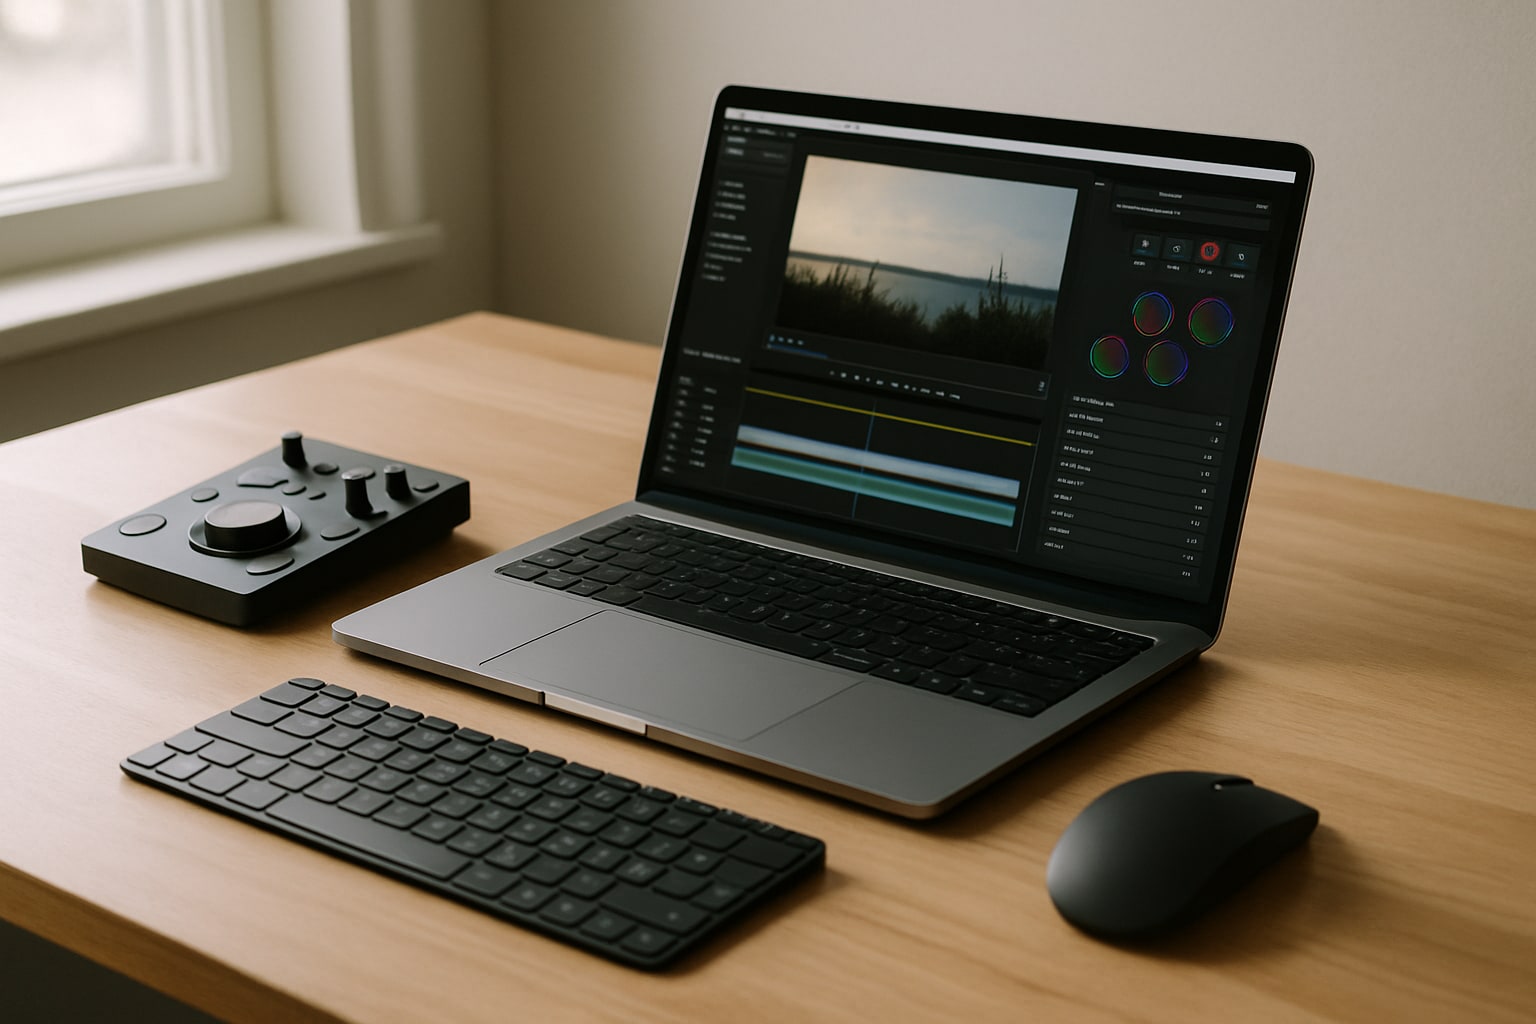
Editing video on a Mac without paying a subscription is possible, and we’re not talking about iMovie. DaVinci Resolve from Blackmagic Design is a free professional editor, with cinema-grade color correction and a paid Studio version that you will only need if you work with 4K above 60 fps, AI noise reduction or very specific features.
This guide gets straight to the point: how to install it on a MacBook Pro M3 with macOS Sonoma 14 or macOS Sequoia 15, how to configure it so it takes advantage of Apple Silicon, and how to produce your first edit without losing an entire afternoon wrestling with the software. Estimated time: 30-45 minutes from download to exporting your first video.
What DaVinci Resolve is and why to use it on your MacBook Pro M3
DaVinci Resolve is the editor used in post-production for films and series (from Deadpool to Avatar). Blackmagic bought it in 2009 and since then has maintained a very complete free version. It is not shareware nor a trial version: it is an editor with editing, color, Fusion (effects), Fairlight (audio) and delivery in a single application.
On a MacBook Pro M3 it performs very well because Resolve has been natively compiled for Apple Silicon for years. The M3’s hardware decoder accelerates H.264 and HEVC, and the color engine takes advantage of the integrated GPU. With 16 GB of unified memory you will work comfortably in 1080p and 4K H.264. If you handle multitrack ProRes 4K or export a lot, you will appreciate 18 or 36 GB.
DaVinci Resolve free vs Studio: what you get without paying
The free version covers 90% of what a non-professional editor or a beginning professional needs. It includes:
- Multitrack editing with no resolution limit up to 4K UHD (3840×2160) at 60 fps.
- Full color correction, including unlimited nodes.
- Fusion for compositing and motion graphics.
- Fairlight with up to 2 output tracks.
- Export in H.264, H.265, ProRes and DNxHD.
The DaVinci Resolve Studio version costs €319 (perpetual license, one-time payment, checked on Blackmagic Design, November 2024). It adds AI tools (Magic Mask, Voice Isolation, Super Scale), temporal noise reduction, 4K above 60 fps, Dolby Vision HDR and multi-user collaboration. For YouTube, corporate video or reels, the free version is more than enough.
Official DaVinci Resolve requirements on Mac M3
Blackmagic requires, for version 19 (current as of November 2024):
- macOS 13.5 Ventura or later. Ideal on Sonoma 14 or Sequoia 15.
- 8 GB of RAM minimum. 16 GB if you work with Fusion. 32 GB recommended for serious 4K.
- GPU with Metal. Any M3 meets this easily.
- Disk space: 3 GB for the application, not counting projects and cache.
A MacBook Pro 14″ M3 base (8 GB RAM, 512 GB SSD, €1,849) can run it, but you will notice the limited RAM if you open Safari with twenty tabs while editing. The MacBook Pro 14″ M3 Pro (18 GB RAM, €2,499) is the sweet spot for editing.
Download DaVinci Resolve for Mac step by step
There is only one official source: the Blackmagic Design website. Never download it from mirrors or sites that promise “free Studio”.
- Go to
blackmagicdesign.com/es/products/davinciresolve. - Scroll down to the blue Download now button.
- Choose the DaVinci Resolve column (left, free), not the Studio one.
- Click Mac OS X in the downloads section.
- Fill in the mandatory form (first name, last name, email, country, phone). Yes, it asks for a phone number. You can enter a real or invented one; they don’t verify it.
- The download of a ZIP of about 3.5 GB will start.
Install DaVinci Resolve on macOS Sonoma or Sequoia
The installer is a classic .pkg file, with no drag-to-Applications step.
- Unzip the ZIP by double-clicking it. You will see a folder with
Install Resolve X.X.X.pkgand documentation. - Double-click the
.pkg. macOS may complain because it is not signed by the Mac App Store: System Settings → Privacy & Security → Open Anyway. - Accept the license agreement.
- Leave all components checked unless you know you don’t need some of them (Fusion, Fairlight, templates).
- Enter your administrator password. Installation takes between 3 and 5 minutes.
- Open DaVinci Resolve from the Applications folder or with Spotlight (⌘ + Space → “Resolve”).
The first time, it will ask about the interface resolution (choose automatic) and request file and microphone permissions. Grant them from System Settings → Privacy & Security → Files and Folders.
First launch: create a project and adjust preferences
When you open Resolve you enter the Project Manager. Create a project by clicking New Project, give it a name and open it.
Before touching anything, go to DaVinci Resolve → Preferences (⌘ + ,). Two key settings:
- Memory and GPU → GPU processing mode: leave it on Metal (not OpenCL). This is what Apple Silicon uses natively.
- Memory and GPU → GPU selected devices: check that your M3 chip appears as selected.
In Media Storage add a folder as the main cache, ideally on the Mac’s internal SSD (not on a slow external USB-C disk). If you have a fast external Thunderbolt SSD, it’s better there so you don’t fill the internal one.
Set up the timeline for 4K and ProRes footage
With the project open, go to the gear icon at the bottom right (Project Settings) or press Shift + 9.
- Master Settings → Timeline resolution: 1920×1080 HD for 1080p YouTube, or 3840×2160 UHD for 4K.
- Timeline frame rate: that of the footage you are going to edit. If you recorded at 25 fps with an iPhone in Europe, set 25. If it’s 24 or 30, choose the matching one. This setting cannot be changed after adding clips.
- Video Monitoring → Video format: same as the previous one.
- Master Settings → Optimized Media and Render Cache → Format: choose ProRes 422 LT or ProRes 422 Proxy if you are going to edit heavy footage. The M3 has a hardware ProRes engine, which keeps playback smooth even with light proxies.
Import clips and organize the bin
Go to the Media tab (bottom left). Drag your files from Finder to the Media Pool. Resolve will index the clips; you will see them with a progress bar.
Good habits from the very start:
- Create bins (folders) by type:
Video,Audio,Music,B-roll,Graphics. - Rename clips with useful names. Right-click → Clip Attributes to add metadata.
- If the footage is H.264 or H.265 from an iPhone and runs slowly, right-click the clips → Generate Optimized Media. With the M3 it takes little time.
First real edit: basic cuts on the Cut Page
For a short video (under 10 minutes), the Cut Page is faster than the traditional Edit Page. Click the second icon at the bottom.
- Drag your first clip to the timeline. Resolve automatically creates the timeline with the clip’s resolution if you haven’t defined it.
- Play with Space. To cut, place the cursor and press ⌘ + B (Split Clip).
- Delete fragments with the Delete key (or fn + Backspace if your keyboard has no numeric keypad).
- To insert the next clip over the cut, use F9 (Source Overwrite).
- Add music by dragging an audio file to track A2. Adjust the volume with the horizontal line that appears when you hover the mouse.
Useful shortcuts that save hours:
- J / K / L: rewind, pause, fast-forward (with double press, 2x speed).
- I / O: mark in and out points on the source clip.
- ⌘ + Z: undo.
- ⌘ + S: save. Resolve autosaves, but it’s better to be safe.
Quick color correction on the Color Page
Go to the Color Page (fourth icon). Select a clip and you will see the color panel.
For a quick adjustment:
- On the Lift wheel (shadows), drag slightly toward blue if the footage is too warm.
- On Gamma (midtones), raise or lower luminance with the lower wheel.
- On Gain (highlights), control the overall brightness.
- Add a node with Option + S to separate adjustments (contrast in node 1, saturation in node 2, etc.).
If it’s your first time, apply a Blackmagic LUT from the browser on the left (LUTs → DaVinci → Film Looks). Drag it onto the node. It gives professional results with zero effort.
Export the video for YouTube or social networks
Go to the Deliver Page (last icon). At the top left you have presets.
- YouTube 1080p or YouTube 4K: export in H.264 with an appropriate bitrate.
- Vimeo: higher bitrate, slightly higher quality.
- Custom Export: for ProRes 422 or specific deliveries.
Enter a file name, choose the destination folder and click Add to Render Queue. In the right panel, click Start Render. A 5-minute 1080p H.264 video takes less than 2 minutes on an M3.
Common problems when using Resolve on a Mac M3
- “Audio codec not supported”: the free Resolve does not read AAC in some containers. Solution: convert the file with HandBrake or extract the audio with
ffmpeg. Alternative: use the Studio version. - Stuttering playback: enable Playback → Use Proxy Media or generate Optimized Media in ProRes Proxy.
- Resolve closes when opening a project: it’s almost always a corrupted cache. Delete the cache in
~/Library/Application Support/Blackmagic Design/DaVinci Resolve/. - The GPU doesn’t appear: restart the Mac. If it persists, reinstall. On Apple Silicon it is usually detected correctly.
- “You do not have permission to access this file”: give Resolve full disk access in System Settings → Privacy & Security → Full Disk Access.
DaVinci Resolve vs Final Cut Pro on Mac: which to choose
Final Cut Pro costs €349.99 (one-time payment, App Store, November 2024). DaVinci Resolve is free, with Studio at €319 if you need it.
Final Cut is quicker to learn, has full integration with macOS and iCloud, and its Magnetic Timeline is comfortable for short videos. It performs brilliantly on Apple Silicon; on a base M3 it is snappier than the free Resolve.
Resolve is more powerful in color, more professional in audio with Fairlight, and the industry standard if you want to collaborate with studios. Its learning curve is steeper.
For YouTubers, vloggers and social video, Final Cut Pro is more productive if your budget allows it. For serious color grading, professional training or zero budget, Resolve. Nothing stops you from using both: many edit in Final Cut and do color in Resolve by exporting XML.
Frequently asked questions
Does the free DaVinci Resolve export with a watermark? No. It is completely free with no watermarks or time limits. The only restriction is in advanced features compared with Studio.
How much RAM do I really need on a MacBook Pro M3 for Resolve? With 8 GB you can edit 1080p without problems if you don’t open many apps at once. For 4K H.264/HEVC and Fusion, 16 or 18 GB is the comfortable minimum. 36 GB for heavy professional work.
Can I use the free version commercially? Yes. The free license allows commercial use without restrictions. You can invoice for videos edited with free Resolve.
Does Resolve work well with iPhone clips in HEVC? Yes. The M3’s hardware decoding engine accelerates HEVC natively. If it runs slowly, generate Optimized Media in ProRes Proxy and you will work smoothly.
Does it update automatically? No. When you open it, it warns you if there is a new version, but download and installation are manual from the Blackmagic website. It’s worth being on the latest stable version rather than betas if you are working on production.