Keynote as a Design Tool: How to Create Mockups and Graphics Without Photoshop
Keynote isn't just for presentations: with its vector shapes, masks and high-resolution export, it's perfect for designing professional mockups and graphics. We'll show you how to make the most of it as an alternative to Photoshop on your Mac.
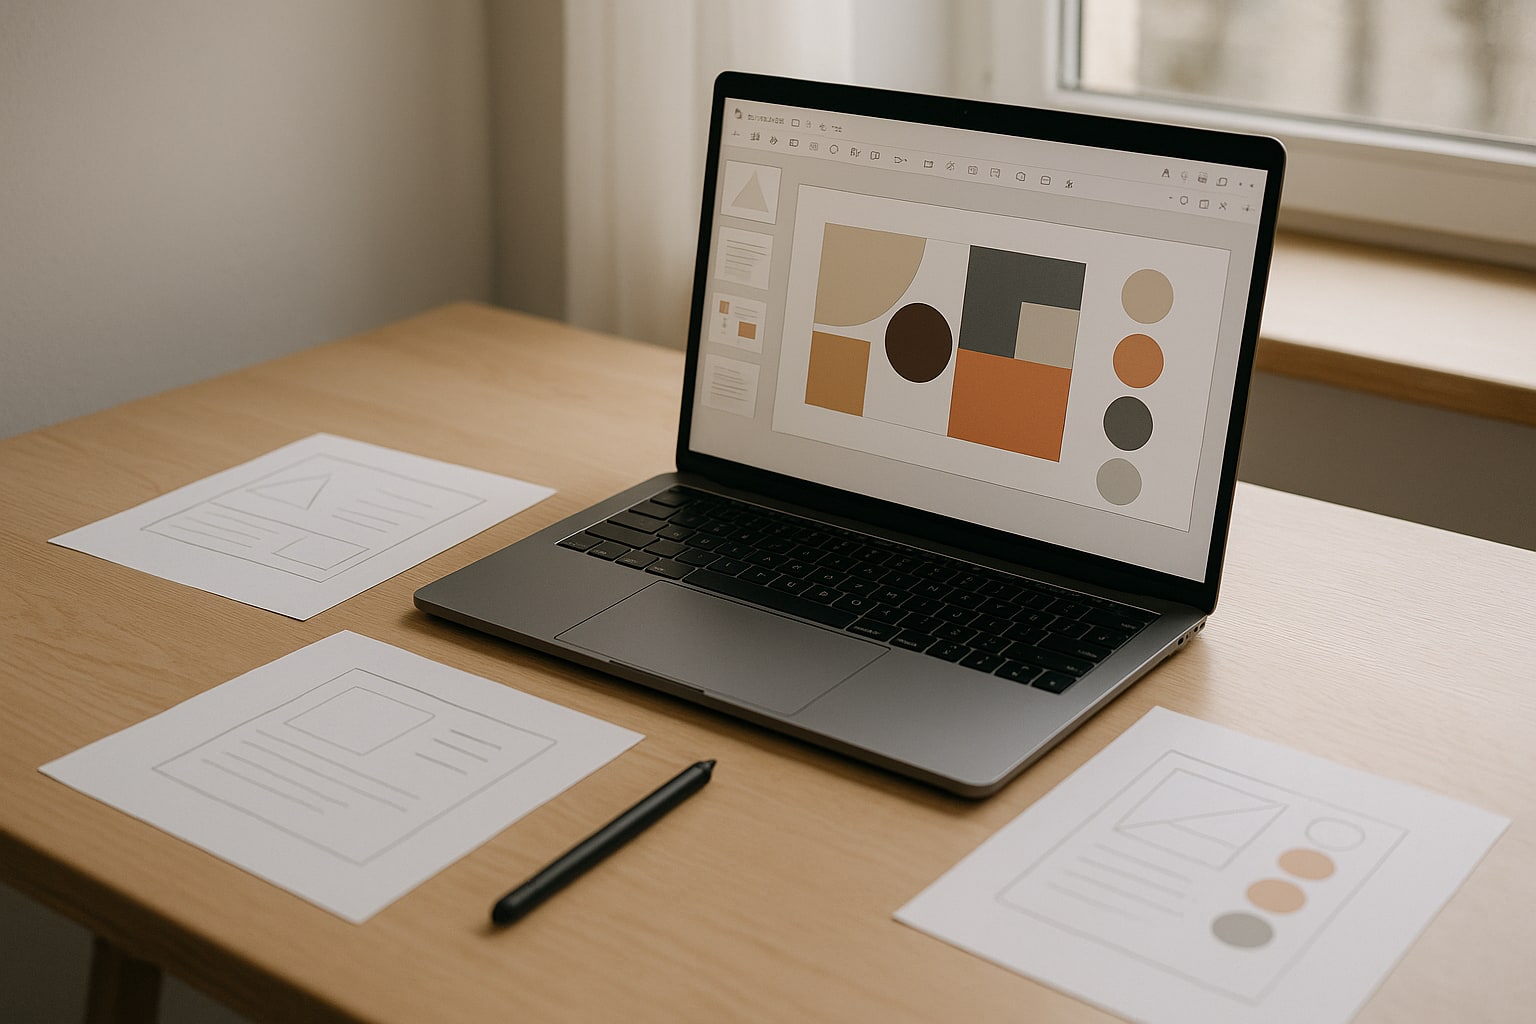
If you have a Mac and need to put together a quick mockup, a graphic for social media or an interface prototype, your first instinct is probably to open Photoshop or Figma. But there’s a tool already installed on your computer that handles 80% of that work at no extra cost: Keynote. Yes, Apple’s presentation app.
I’ve been using it for years for tasks it theoretically wasn’t meant for: laying out slides for clients, exporting graphics for articles, putting together app mockups before passing them on to Figma. And it works. It doesn’t replace Photoshop for photo retouching or Figma for collaborative prototyping, but for one-off design work it performs better than most people imagine.
Why Keynote is more than a presentation app
Apple has spent years building into Keynote 14 (the current version as of this article, compatible with macOS Sonoma 14 and macOS Sequoia 15) features that are technically graphic design features: editable vector shapes, masks, smart alignment, export to PDF and image at custom resolution, Magic Move animations and, since a few versions ago, Bézier curve editing within the shapes themselves.
The chip change is the other piece. With a MacBook Air M3 or any Mac with Apple Silicon, Keynote handles heavy files with hundreds of objects without a hitch. And unlike Adobe, it doesn’t ask for a subscription or make you sign in every couple of days.
Advantages over Photoshop for one-off design
The honest comparison: Photoshop remains the standard for photo retouching, complex compositions with hundreds of layers and professional CMYK work. Keynote doesn’t play in that space.
But if what you need is:
- A graphic for Instagram or LinkedIn.
- A blog cover.
- A mockup of an iPhone or iPad screen.
- An infographic with icons and text.
- A visual prototype to show a client.
Keynote does it faster and, above all, for free. Photoshop costs €24.19/month on the individual plan (Adobe, October 2024). Keynote comes preinstalled on every Mac sold since 2013.
How to set up the working canvas
The first step is to stop thinking about “slides” and start thinking about “canvases”. Open Keynote, create a blank presentation (Blank template, not the pre-designed ones) and set the document size.
Changing the canvas to a custom size
Go to Document (icon in the right panel) → Document tab → Slide Size → Custom Slide Size.
Some useful values:
- Instagram square: 1080 × 1080.
- Story / Reel: 1080 × 1920.
- YouTube thumbnail: 1280 × 720.
- iPhone 15 Pro screen: 1179 × 2556.
- iPad Pro 13″ M4 screen: 2064 × 2752.
Once the canvas is set, you have a “design document” instead of a slide.
Enabling guides and rulers
Shortcut: ⌘ + R turns on the rulers. Keynote → Settings → Rulers lets you choose units (pixels, points, centimeters). For digital design, pixels.
Smart guides appear automatically when you drag objects. If they bother you, Settings → Rulers and turn off the ones you don’t need.
Creating mockups in Keynote step by step
Here’s a concrete use case: you’re going to build a mockup of an iPhone screen with your app inside. Estimated time: 15 minutes.
Importing the device frame
Apple offers downloadable product frames in its official marketing section (apple.com/legal/intellectual-property/guidelinesfor3rdparties.html and related links). Download the PNG of the iPhone you need and drag it onto the Keynote canvas.
Lock it with ⌘ + L so it doesn’t move while you work on top of it.
Placing your app screenshot inside the frame
Drag the screenshot over the frame. Adjust the size holding Shift while scaling from a corner to keep the proportions. Send the screenshot behind the frame with Arrange → Send to Back (or ⌘ + Shift + B).
If the frame’s screen has rounded corners, use a mask: select the screenshot, Format → Image → Edit Mask, and crop it to the visible area.
Adding shadow and depth
Right panel → Style → Shadow. Enable Drop Shadow. Values that work well:
- Blur: 20-30.
- Offset: 5-10.
- Opacity: 25-40%.
Avoid pure black shadows. Change the color to a bluish gray or the complement of the background. It looks more professional.
Working with vector shapes and masks
Here lies the real potential of Keynote as a design tool. Shapes aren’t pixels: they’re vectors, and you can edit them point by point.
Editing the points of a shape
Insert a shape (Shape → Basic → Rectangle, for example). Double-click it and the control points will appear. You can:
- Add points by clicking anywhere on the path.
- Convert corners into curves by double-clicking the point.
- Move Bézier handles to curve it.
It’s essentially the same thing the Pen tool in Photoshop or Figma does. No two-hour YouTube tutorials required.
Boolean operations
Select two or more shapes, right panel → Arrange → at the end you have Union, Subtract, Intersect, Exclude. With these you can build complex icons from simple figures.
Practical example: a cloud icon is built from three circles and a rectangle; select them all and click Union. Result: a single editable shape.
Masks with any shape
Select an image, draw a shape over it, select both and Format → Image → Mask with Selected Shape. The image is cropped to the exact silhouette of your shape.
Designing graphics for social media
For an Instagram graphic, the workflow I use:
- 1080 × 1080 canvas.
- Background: full-screen rectangle with a Gradient fill (right panel → Style → Fill → Advanced Gradient).
- Text: SF Pro Display or New York (both are preinstalled on macOS). Large size, Bold or Black weight.
- Decorative elements: shapes with low opacity behind.
- Logo or watermark in a corner.
To keep pieces consistent, save a slide as a template: right-click the thumbnail on the left → Duplicate. Then you only change the text.
Magic Move for creating short animated videos
This is where Keynote separates itself from Photoshop. Magic Move is a transition that automatically interpolates between two slides with the same objects in different positions. What takes you hand-set keyframes in After Effects is a single click here.
Steps:
- Design slide 1 with the objects in their starting position.
- Duplicate it (⌘ + D in the thumbnail panel).
- Move, scale or rotate the objects on slide 2.
- On slide 1, panel Animate → Add Effect → Magic Move.
Result: a smooth animation between both states. Exportable as video (see next section).
I use it for logo micro-animations or quick app demos. For a Reel or a Short, it’s enough.
Exporting high-resolution graphics
File → Export To gives you several options depending on what you need:
| Format | Ideal use | Resolution |
|---|---|---|
| Printing, documents | Vector, maximum quality | |
| Images (PNG) | Web, social media | Up to 4× the canvas size |
| Movie (MP4) | Animations, videos | Up to 4K |
| HTML | Interactive web | Variable |
For PNG, check Create one image per slide and choose Best for quality. If you need more resolution, double the canvas size from the start.
To export a single slide as an image: right-click the thumbnail → Export Slide as Image. A little-known shortcut, but brutally useful.
When Keynote isn’t enough
Let’s be fair. There are cases where you have to go to another tool:
- Real photo retouching: levels, curves, luminosity masks. Here Photoshop or Pixelmator Pro (€49.99 on the Mac App Store, one-time payment).
- Collaborative interactive prototyping: Figma. No discussion.
- Complex vector illustration: Affinity Designer 2 (€74.99 one-time payment) or Illustrator.
- Multi-page editorial design: InDesign or Affinity Publisher.
Keynote covers the middle ground: quick graphics, mockups, short animations, presentations-that-don’t-look-like-presentations. For everything else, a dedicated tool.
Templates and resources to speed up your workflow
Entire communities are dedicated to this. KeynoteHQ and Apple Templates offer free and paid resources. On GitHub there are also repos with wireframing kits in Keynote.
My practical recommendation: build your own master file with color palettes, typefaces you use often, icons you rely on and social media templates. You open it, duplicate the slide you need and get to work. In 2–3 weeks you’ll have your personal library and won’t miss Photoshop’s premium templates.
Keynote won’t replace Adobe in a design studio, but for 80% of everyday graphic tasks—especially if you work alone, remotely or as a freelancer—it gets the job done. And it’s already on your Mac.