How to Use Shortcuts in macOS Sequoia to Automate Tasks with Folders and Files
A practical guide to mastering the Shortcuts app in macOS Sequoia and automating your work with folders and files. Real examples: organizing Downloads, batch renaming, converting images and compressing PDFs without third-party apps.
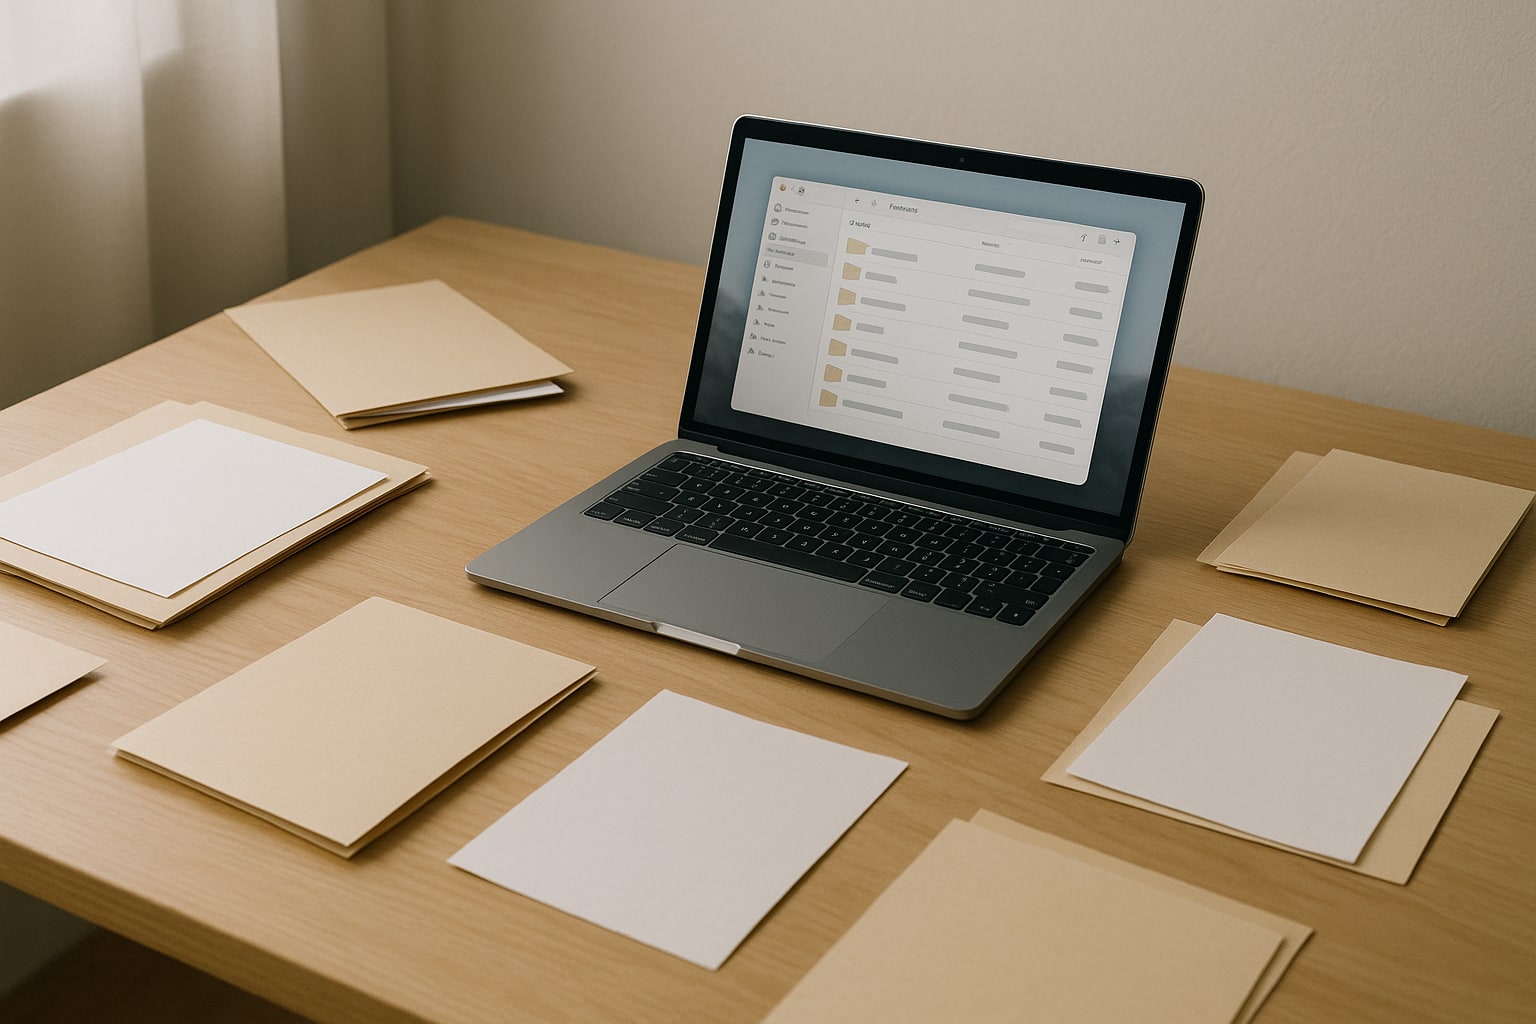
If you use your Mac for work, sooner or later you end up repeating the same tasks: renaming 40 photos, converting a HEIC to JPG, moving invoices from the desktop to a folder, compressing a PDF before sending it. The Shortcuts app has been on macOS since Monterey, but it is in macOS Sequoia 15.1 that it finally feels like a serious automation tool, rather than a toy ported over from the iPhone.
This guide gets straight to the point: what you can do with Shortcuts in macOS Sequoia, how to set it up step by step, and where its real limits are. Estimated time to get your first workflow running: 10-15 minutes.
What the Shortcuts app is and why use it in macOS Sequoia
Shortcuts is Apple’s native automation app. It lives in /Applications/Shortcuts.app and comes installed by default. The idea is simple: you chain “actions” (move a file, resize an image, run a script) so they trigger with a click, a keyboard shortcut, a Siri command, or automatically.
macOS Sequoia has refined some important details: better integration with Finder, more reliable automatic triggers, native support for actions in the Passwords app, and considerably faster execution than in Ventura. There are still bugs, but it is the first version I trust for workflows I run every day.
A native alternative to Automator, Hazel and other apps
For years, anyone who wanted to automate seriously relied on Automator (native, but abandoned for a long time), Hazel (€32, powerful for folder rules), Keyboard Maestro ($36, the king of complex workflows), or Alfred with Powerpacks.
Shortcuts does not replace Keyboard Maestro if you build keyboard macros at a professional level. But for 80% of file and folder tasks—which is what most people do—it covers everything and costs nothing. Automator still works, but Apple no longer updates it. If you start today, start with Shortcuts.
Prerequisites and compatibility
- macOS Sequoia 15.0 or later (15.1 recommended for stability).
- A Mac with Apple Silicon (M1, M2, M3, M4) or a compatible Intel chip. Everything works the same way, although Apple Silicon machines are noticeably faster at actions that handle images or video.
- Signed in with your Apple ID if you want synchronization with iPhone and iPad via iCloud.
- Permissions granted to the app in
System Settings → Privacy & Security → AutomationandFull Disk Accessif you are going to touch system folders.
Shortcuts interface in macOS Sequoia, step by step
Open the app (⌘ + Space → “Shortcuts”). You will see three areas:
- Left sidebar: folders (“All Shortcuts”, “Shared with iCloud”, your own collections) and the Automation section.
- Central panel: the shortcuts you have in the selected folder.
- Editor (when you double-click a shortcut): on the left, the chained actions; on the right, the action search.
To create a new one: the + button at the top right or ⌘ + N.
Types of triggers available in macOS Sequoia
This is where Shortcuts gets interesting. The same workflow can run in several ways:
- Manually from the app: double-click the shortcut.
- Menu bar: by enabling “Pin in Menu Bar” in the shortcut’s settings.
- Finder service: appears in the context menu (right click → Quick Actions).
- Keyboard shortcut: a custom key combination.
- Spotlight: by typing the shortcut’s name after ⌘ + Space.
- Siri: “Hey Siri, run [shortcut name]”.
- Scheduled: at a specific time, every day, every week.
- When an external device connects, when an email arrives, when a folder is modified: the “event” triggers are in the Automation tab.
How to create your first basic shortcut
Let’s start with a simple one to understand the flow. Goal: when run, it tells you how many files are in Downloads.
- ⌘ + N for a new shortcut. Name it “Count Downloads”.
- In the search box on the right, type “Get Folder Contents”. Drag it into the editor.
- Click “Folder” and select
~/Downloads. - Add the “Count” action and set it to “Items”.
- Add “Show Notification” and drag the count variable into the text: “You have [Count] files in Downloads”.
- Press the ▶ button at the top to test it.
If it gives you the correct number, you already know the basics: chained actions + variables.
How to automate the Downloads folder
Here comes the useful part. We are going to create a shortcut that sorts Downloads by file type into subfolders: Images, PDFs, Videos, Others.
- New shortcut: “Sort Downloads”.
- Add “Get Folder Contents” pointing to
~/Downloads. - Add “Filter Files”. Configure it: “File extension is one of: jpg, jpeg, png, heic, gif”.
- Add “Move File” → destination
~/Downloads/Images(create it beforehand). - Repeat the filter + move block for PDFs (
pdf) to~/Downloads/PDFsand for videos (mp4, mov, m4v) to~/Downloads/Videos.
To make it trigger automatically when something new arrives:
- Go to the Automation tab → + → Folder.
- Select
~/Downloadsand check “When items are added”. - Choose the “Sort Downloads” shortcut.
- Turn off “Ask Before Running” so it runs silently.
Batch renaming files with a workflow
Typical scenario: you receive 30 photos named something like IMG_4521.HEIC and you want Meeting_2025_01.jpg, Meeting_2025_02.jpg, and so on.
- New shortcut: “Rename Photos”.
- “Receive Input” action: set it to accept images from Finder as a quick action.
- Enable in the settings (gear icon on the right): Use as Quick Action → Finder.
- Add “Convert Image” to JPG (optional, if they come as HEIC).
- Add “Rename File”. In the name, use:
Meeting_2025_+ the “Index Number” variable formatted with two digits. - Save.
Now select the photos in Finder, right click → Quick Actions → Rename Photos. Done.
Converting images from HEIC to JPG automatically
A classic. The iPhone records in HEIC, and some services still don’t handle it well.
- New shortcut: “HEIC to JPG”.
- Receive input: Images from Finder.
- “Convert Image” action → JPEG format, 90% quality.
- “Save File” action → destination “Ask Every Time” or a fixed folder such as
~/Documents/Converted. - Activate it as a Finder quick action.
Bonus: you can add a “Resize Image” action before saving to automatically export at 1920px wide. I use it to prepare blog images.
Compressing PDFs and organizing documents
macOS does not ship with a very visible native PDF compression feature, but Shortcuts has one.
- New shortcut: “Compress PDF”.
- Receive input: PDF Files from Finder.
- “Optimize PDF Size” action (in Sequoia it appears under “Documents”).
- “Save File” action in the same folder with the suffix
_compressed.
In my tests, a 12 MB PDF with scanned images dropped to 2-3 MB with no visible loss. It doesn’t compete with Adobe Acrobat, but for email attachments it’s more than enough.
Running shortcuts from Finder, Spotlight or Siri
The same shortcut can be triggered in several ways. In each shortcut’s settings (right panel of the editor):
- Pin in Menu Bar: an icon appears at the top right.
- Use as Quick Action: Finder context menu.
- Add Keyboard Shortcut: for example ⌘ + Ctrl + O for “Sort Downloads”.
- Use with Siri: enabled by default, invocable by voice.
- Show in Spotlight: you find the shortcut by typing its name after ⌘ + Space.
I mix all three: the ones I use several times a day have a keyboard shortcut; the occasional ones, Spotlight; the ones for context menus on files, quick action.
Scheduled and event-based automations
In the Automation tab you can trigger shortcuts by:
- Time of day: useful for “close apps and lock the Mac at 8:00 PM”.
- Connecting/disconnecting the charger.
- Connecting to a specific Wi-Fi network: for example, turning on the VPN when you connect to networks other than home.
- When a folder is modified: the star trigger for the Downloads workflow.
- When an email arrives matching criteria X: if you have Mail configured.
Note: in Sequoia folder automations work better than in earlier versions, but they still require the Shortcuts app to be running in the background. Don’t quit it completely.
Running Shell and AppleScript scripts from Shortcuts
This is where Shortcuts becomes serious glue. You can launch any command from an action:
- “Run Shell Script”: accepts bash or zsh. For example:
find ~/Desktop -type f -mtime +30 -exec mv {} ~/Documents/Archive/ \;
That command moves files on the Desktop older than 30 days to an archive folder. Be careful with mv and rm: test it first with echo in front to see what it would do.
- “Run AppleScript”: useful for controlling apps that don’t expose native actions (Mail, older third-party apps).
- “Run JavaScript on Web Page”: for automating tasks in Safari.
Remember to grant permissions in System Settings → Privacy & Security → Automation the first time a shortcut tries to control another app.
Syncing shortcuts with iPhone and iPad via iCloud
Shortcuts sync automatically between devices signed in with the same Apple ID if you have iCloud Drive enabled (System Settings → [Your name] → iCloud → iCloud Drive).
Be careful: not all actions work on every system. A shortcut with “Run Shell Script” will give you an error on iPhone because iOS has no Terminal. The editor warns you with an orange icon on incompatible actions.
My recommendation: keep separate folders in Shortcuts, such as “Mac Only”, “iOS Only”, “Universal”, so you don’t go crazy.
Common problems and how to fix them
- “The shortcut doesn’t run automatically”: check that in
System Settings → General → Login Items“Shortcuts” is allowed to run in the background. - “It doesn’t appear as a quick action in Finder”: in the shortcut editor, tick the “Use as Quick Action” box and define the correct input type (Images, Files, etc.).
- Permission denied when moving files: give the Shortcuts app Full Disk Access in
System Settings → Privacy & Security → Full Disk Access. - Folder automations that don’t trigger: this is the most reported bug. Usual fix: delete the automation, restart the Mac and create it again. In Sequoia 15.1 it works much better than in 15.0.
- Slow iCloud sync: force a sync by closing and reopening the app, or by turning Shortcuts off and on again in
iCloud Drive → Apps that sync.
Best practices for maintainable workflows
After a couple of years using Shortcuts every day:
- Name them well: “Compress PDF to 90%” is better than “Shortcut 12”.
- Group them in folders: by context (Work, Photos, System) or by trigger.
- Comment the workflow: the “Comment” action does nothing but will save your life when you come back to a shortcut six months later.
- Start small: build a workflow that solves ONE problem. Extend it later.
- Back up: export important shortcuts with right click → Share → Export File. They are saved as
.shortcutand you can version them in Git if you are a real fan. - Don’t over-automate: if you use a workflow once a month, it may not be worth it. Automate the repetitive, not the occasional.
Shortcuts in macOS Sequoia is not perfect—it still needs polish on event-based automations and the editor remains clunky compared with Keyboard Maestro—but it covers most real needs without spending a single euro. Start by sorting Downloads and converting HEIC. In a week you’ll be building things you never even considered before.