How to Use Disk Utility on Mac to Partition, Format, and Repair Disks
Complete guide to Disk Utility in macOS Sequoia for partitioning, formatting, and repairing internal and external disks step by step. Includes solutions to the most common errors with drives that aren't recognized.
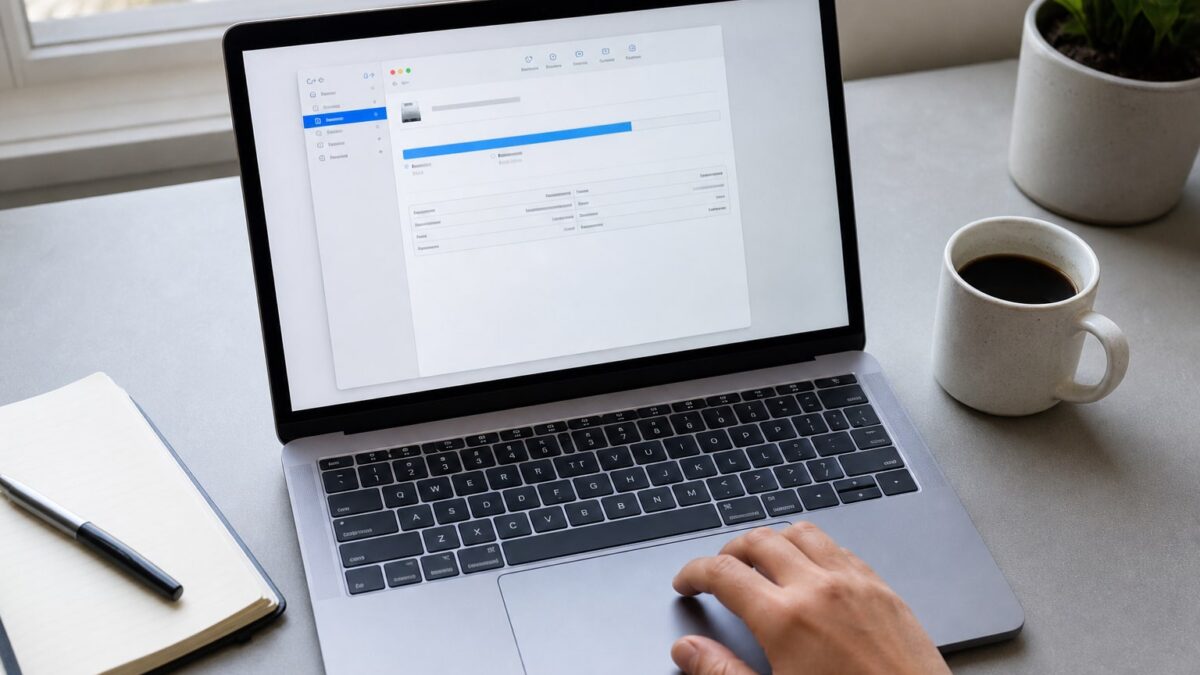
Disk Utility —Utilidad de Discos in Spanish, found in Apple’s menu— is the tool you’ve been using since the Mac OS X days and which, in 2026, remains the most direct way to manage disks in macOS. It does three specific things: partitioning a drive, formatting it with the correct file system, and repairing errors when something doesn’t add up. No third-party apps are needed for the basics.
This guide is written for macOS Sequoia 15.x, although almost everything you’ll read works the same way from macOS Monterey onward. The full process of partitioning or formatting a disk takes no more than 5 minutes. Repairing a damaged disk can take anywhere from 2 minutes to more than an hour, depending on the size and condition of the drive.
Prerequisites
You don’t need to install anything. Disk Utility has come built into macOS from the start, inside Applications → Utilities → Disk Utility. Even so, there are a couple of things worth being clear about before touching a disk:
- Backup: formatting and partitioning erase data. If the disk holds anything you care about, make a copy with Time Machine or simply drag the files to another drive before doing anything else.
- Administrator permissions: you need your Mac account password for operations such as erasing a startup disk.
- Apple Silicon or Intel: on Macs with M1/M2/M3/M4 chips, some operations on the startup disk require restarting into recovery mode (press and hold the power button while starting). On Intel Macs, you do this with ⌘ + R.
How to Open Disk Utility on Your Mac
There are three paths, all equally valid:
- Spotlight: ⌘ + Spacebar, type “Disk Utility” and press Return.
- Finder: Applications → Utilities → Disk Utility.
- Recovery mode: if you’re going to touch the startup disk, restart the Mac and enter recovery (power button on Apple Silicon, ⌘ + R on Intel). There, Disk Utility appears as one of the options in the main menu.
Once open, the left sidebar shows all the disks and volumes connected to the Mac, internal and external. If you don’t see a drive you know is connected, check View → Show All Devices in the top menu. This is key: by default Disk Utility hides volumes and only shows physical disks, and many people get stuck here thinking the drive isn’t there.
How to Partition a Disk on Mac
Partitioning means dividing a physical disk into several independent volumes, each with its own file system if you wish.
- Select the physical disk (not a volume) in the sidebar.
- Click Partition in the toolbar.
- Click the + button to add a new partition. Adjust the size by dragging the circle on the pie chart or typing the value in GB.
- Name each partition and choose its format.
- Click Apply and confirm. The process erases the disk’s previous contents, so if it had data, that data is lost.
Choosing Between APFS, Mac OS Extended (Journaled), and ExFAT
This is the decision that confuses people most, and there is no single answer here:
| Format | Compatibility | Recommended use |
|---|---|---|
| APFS | Only macOS High Sierra (2017) onward | Startup disk or a drive you only use on Mac. Supports clones, snapshots, and native encryption. |
| Mac OS Extended (Journaled) | macOS in general, including older versions | Time Machine disks on older Macs or long-term backups. |
| ExFAT | Mac and Windows without additional drivers | USB drive or external disk you move between Mac and PC. |
| MS-DOS (FAT32) | Mac, Windows, cameras, and consoles | Files under 4 GB, maximum compatibility with older devices. |
If you’re going to use a disk only with your Mac, APFS has been the default choice for years. If you share it with Windows, ExFAT is the best combination of compatibility and no file-size limit.
How to Format a Hard Drive or USB Drive for Mac
Formatting erases all content and prepares the drive with a new file system. It’s faster than partitioning because you don’t divide anything; you just rewrite the entire volume.
- Connect the drive and open it in Disk Utility.
- Select the volume (not the physical disk if you only want to reformat without touching existing partitions).
- Click Erase in the toolbar.
- Give it a name, choose a format (APFS, Mac OS Extended Journaled, ExFAT, or FAT32), and the partition scheme if asked (GUID Partition Map for Mac, Master Boot Record for extreme compatibility with old PCs).
- Click Erase. On 32–64 GB USB drives it usually takes less than a minute.
Formatting a USB Drive to Work on Both Mac and Windows
If you need a flash drive that both a Mac and a Windows PC can read interchangeably, use ExFAT with the GUID Partition Map scheme. Avoid FAT32 unless the target device (an old camera, for example) doesn’t support anything else, because FAT32 doesn’t allow individual files larger than 4 GB.
How to Create an APFS Volume Without Partitioning the Whole Disk
Since Apple introduced APFS, you no longer need to partition in the classic sense to have several separate “disks” within the same physical drive. APFS containers let you add volumes that share free space dynamically.
- Select the physical disk formatted as APFS in the sidebar.
- Click the + button next to the volume icon in the toolbar (not the partition one).
- Name the new volume and click Add.
The advantage over classic partitioning is that you don’t reserve fixed space: APFS volumes within the same container share free storage as they need it. It’s the currently recommended way to have, for example, one volume for the system and another for data without wasting space.
How to Repair a Disk with First Aid
First Aid is Disk Utility’s diagnostic and repair function. It checks the file system structure and fixes logical errors.
- Select the disk or volume in the sidebar.
- Click First Aid in the toolbar.
- Confirm by clicking Run.
- Wait. On an internal SSD it usually takes between 1 and 5 minutes; on a mechanical external disk it can exceed 20–30 minutes.
- When it finishes, you’ll see a report. If it says “The operation completed successfully,” all is well. If uncorrected errors appear, repeat the process a second time: sometimes more than one pass is needed.
If you’re going to repair the startup disk (where macOS is installed), you must do it from recovery mode, because the system can’t repair its own volume while it’s actively in use.
What to Do If First Aid Can’t Repair the Disk
When the report says something like “this volume could not be repaired,” the realistic options are:
- Make an immediate backup of whatever you can salvage before doing anything else.
- Erase the disk and reformat it, accepting the loss of unrecovered data.
- If it’s a mechanical disk with strange noises or obvious physical failures, stop insisting with software: it’s a hardware problem and you need a professional data recovery service, not Disk Utility.
How to Completely Erase a Disk on Mac
Erasing an entire disk —not just reformatting a volume— is necessary before selling a Mac or getting rid of an external drive.
- Select the physical disk (the top level, not a volume).
- Click Erase.
- For a secure erase with several overwrite passes, click Security Options and move the slider. Note: on SSDs this adds very little extra security and greatly lengthens the process; on mechanical disks it does make sense for real secure erasure.
- Confirm and wait.
If you’re going to sell an Apple Silicon Mac, the correct approach isn’t just erasing the disk from here: use Settings → General → Transfer or Reset → Erase All Content and Settings, which also deauthorizes your Apple ID on the device. If you plan to migrate your data to a new Mac first, you may want to review how to use Migration Assistant to move from an Intel MacBook to a MacBook Air M3 before erasing anything.
Repairing Disk Permissions in Modern macOS
If you come from Mac OS X Leopard or Snow Leopard, you’ll remember the “Repair Disk Permissions” option in Disk Utility. Apple removed it starting with El Capitan (2015) because the system now manages system file permissions automatically and it is no longer a manual task. If you see recommendations today to “repair permissions” to solve performance problems or odd errors, that information is outdated: in macOS Sequoia that option doesn’t exist and isn’t missing. The closest thing you can do now is run First Aid, which covers the integrity of the file system as a whole.
Common Problems
External Drive Not Recognized on Mac
Before assuming the disk is dead, try this in order: change the USB cable (it’s the number one cause), try another port, check in View → Show All Devices within Disk Utility whether the physical disk appears even if the volume doesn’t, and if you have a Mac with only USB-C/Thunderbolt ports and the disk is an old USB-A, rule out the adapter as the cause.
Disk Utility Freezes or Stops Responding
This usually happens with heavily damaged external mechanical disks during First Aid. Wait at least 30–40 minutes before forcing it to close. If it’s truly stuck, force quit with ⌘ + Option + Esc and try again, this time with the disk connected directly to the Mac without a USB hub in between.
“Unable to Unmount Disk” Error
This appears when some process is still using that volume. Close all apps that might have open files on that drive, check that it isn’t the Time Machine disk in the middle of a backup, and if it persists, restart the Mac and repeat the operation right after it boots.
Alternatives to Disk Utility
For most users, Disk Utility is enough. But there are scenarios where another tool makes sense:
- DiskWarrior: deeper repair of damaged directories when First Aid gives up. Paid, very specific niche for data recovery.
- Terminal with
diskutil: the same functionality as Disk Utility but from the command line, useful for scripts or automation. For example,diskutil listshows all disks without opening any window. - Carbon Copy Cloner or SuperDuper: if what you need is to clone an entire startup disk, these are more focused on that than Disk Utility.
If your case is formatting or partitioning disks to use with Windows more intensively, for example inside a virtual machine, you’d be better off looking at how to install Windows 11 ARM on an M3 Mac with Parallels Desktop 20, where virtual disk management follows a different logic.
Frequently Asked Questions
Can I recover files deleted when formatting a disk with Disk Utility? Formatting overwrites the file table, not necessarily the data itself, especially if you didn’t use the secure erase option. On APFS SSDs, recovery is unreliable because of automatic TRIM. On mechanical disks there are more options with recovery software, but the sooner you stop writing to the disk, the better.
Why won’t Disk Utility let me erase the startup disk? Because it’s in active use by macOS. You need to restart into recovery mode (power button on Apple Silicon, ⌘ + R on Intel) and erase it from there.
APFS or Mac OS Extended for a Time Machine disk? It depends on the macOS version. Since Big Sur, Time Machine works well with APFS and also supports more efficient snapshots. If you also use the disk with a very old Mac, Mac OS Extended is still more compatible.
Can you partition a disk without losing the data it already has? Sometimes, if there’s enough free space and the format allows it, but Disk Utility doesn’t guarantee preserving data in every partitioning operation. Apple’s official recommendation, and the safest in practice, is to make a backup first.
What’s the difference between erasing a volume and erasing an entire disk? Erasing a volume reformats only that logical partition. Erasing the physical disk also removes the entire partition scheme, including any other volumes it might have. If you only want to clean data, work at the volume level; if you want to start completely from scratch, select the physical disk.