How to Use Migration Assistant to Move from an Intel MacBook to a MacBook Air M3
A complete, step-by-step guide to migrating all your data, apps, and settings from an Intel MacBook to a MacBook Air M3 with Migration Assistant. Includes requirements, common problems, and alternatives.
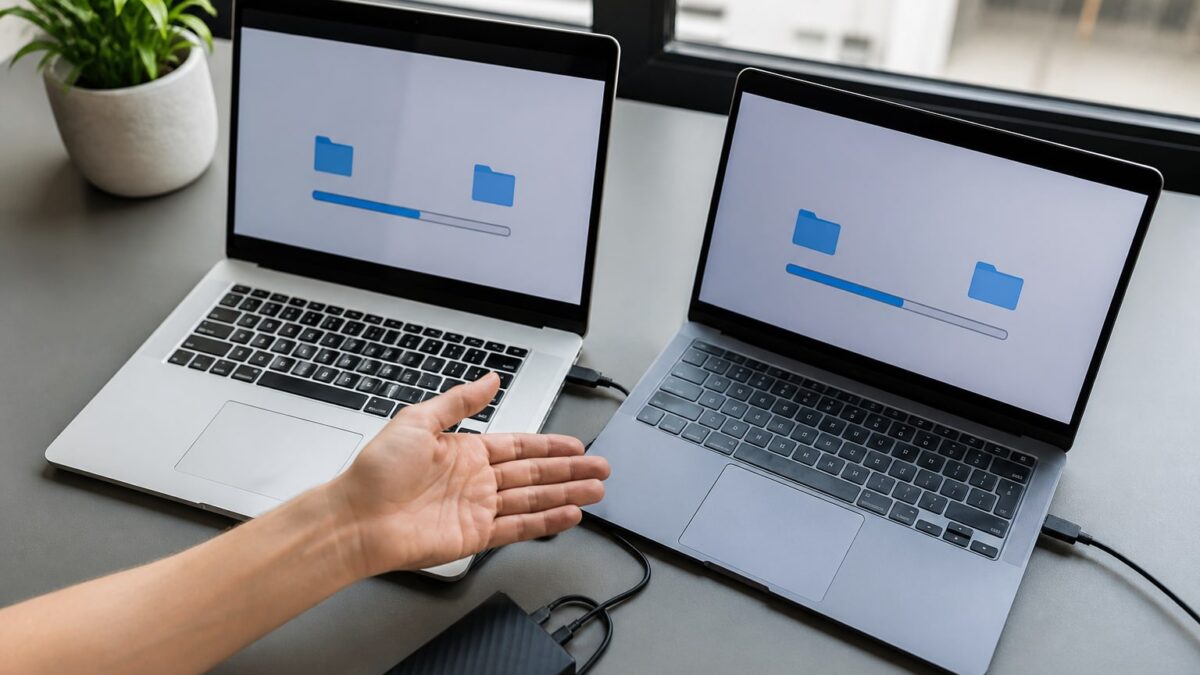
Your new MacBook Air M3 13″ 2024 has arrived, and you have an Intel MacBook with years of photos, documents, saved Wi-Fi passwords, and that Word file nobody remembers why it’s still there. The good news is that you don’t have to move anything by hand. Migration Assistant does the heavy lifting for you: it copies user accounts, applications, documents, and system settings in a single operation.
The full process, depending on how much data you have and the connection method, takes between 40 minutes and 3-4 hours. This isn’t an exaggeration: if you’re coming from a full 1 TB mechanical hard drive and using Wi-Fi, be prepared for a long afternoon. If you use a cable and an SSD, things change a lot.
Prerequisites
Before you start migrating, check the following:
- Up-to-date macOS on both computers. The MacBook Air M3 ships with macOS Sequoia 15 out of the box. Your Intel MacBook should be, at a minimum, on a version compatible with the modern Migration Assistant: ideally macOS Monterey 12 or later. The older the version on the Intel Mac, the more likely you are to run into friction.
- Enough storage space on the MacBook Air M3. If your Intel Mac has 500 GB in use and your new Air is 256 GB, Migration Assistant will warn you and you won’t be able to complete the full transfer. You’ll have to choose what to move.
- Both Macs connected to power. It’s not mandatory, but it prevents surprises halfway through.
- The same Apple ID on both computers if you want the transfer of iCloud, Messages, and Keychain data to go smoothly.
- Third-party antivirus or security software temporarily disabled on the Intel Mac. Some security suites block network processes needed for the transfer.
Backup before migrating: why it’s mandatory
Before touching anything, make a backup with Time Machine. It’s not optional. Migration Assistant is reliable, but you’re moving years of work between two different chip architectures (Intel x86 vs. Apple Silicon ARM), and any power cut, faulty USB cable, or crash in the middle of the transfer can leave you with an incomplete copy.
Quick backup steps:
- Connect an external drive with space equal to or greater than what your Intel Mac uses.
- Go to System Settings → General → Time Machine on your Intel Mac.
- Select the drive and turn on Back Up Automatically.
- Wait for the first full backup to finish before starting the migration.
If something goes wrong during the transfer to the M3, you have the Time Machine backup to start over without losing anything.
Steps to migrate with Migration Assistant
Step 1: Choose the connection method
You have three real options:
- Direct Thunderbolt/USB-C cable between the two Macs. It’s by far the fastest option. If your Intel MacBook is from 2016 onward, it already has compatible USB-C/Thunderbolt 3 ports.
- Wi-Fi. It works, but on ordinary home networks the real speed is around 20-50 MB/s. With 300 GB of data, do the math: it can exceed 2-3 hours.
- Migration from a Time Machine backup. If you’d rather not connect the two computers at the same time, you can restore directly from the Time Machine disk during the M3’s initial setup.
For most users with more than 100 GB of data, the cable is the option that saves time and headaches.
Step 2: Start Migration Assistant on the MacBook Air M3
If this is the first time you turn on the new M3, the Setup Assistant itself will ask whether you want to transfer data from another Mac. Say yes and Migration Assistant will start automatically.
If you’ve already set up the M3 and want to migrate later, open it manually:
- Go to Finder → Applications → Utilities → Migration Assistant.
- Select From a Mac, Time Machine backup, or startup disk.
- Click Continue.
Step 3: Prepare the Intel MacBook as the source
On the old Intel Mac, also open Migration Assistant (same path: Finder → Applications → Utilities). Select the option To another Mac. The system will close the other open applications to free up resources, so save anything you have pending first.
Step 4: Verify the security code
Both Macs will display an identical numeric code on screen. Confirm that it matches on both computers before continuing. This prevents you from accidentally connecting to a Mac that isn’t yours if you’re on a shared network (office, coworking space).
Step 5: Select what you want to migrate
This is where you control the process. Migration Assistant lets you check or uncheck:
- User accounts (it’s recommended to migrate all of them if you only have one).
- Applications.
- System and network settings.
- Other files and folders (Documents, Desktop, Downloads…).
If your source disk is nearly full but the M3 has less capacity, uncheck heavy folders like Downloads or Movies and move them later manually via an external drive.
Step 6: Let it finish and restart
Click Continue and don’t touch the cable or close the lid of either Mac. When it finishes, the M3 will ask you to log in. You’ll see your desktop, your apps, and your documents just as they were on the Intel Mac.

What happens to your Intel apps on the M3
This is the part that raises the most questions. Your Intel MacBook ran apps compiled for x86. The M3 is an Apple Silicon chip with ARM architecture. What happens to those migrated apps?
Migration Assistant copies them as they are, and macOS Sequoia runs them through Rosetta 2, Apple’s translation layer. If you don’t have it installed, the system will offer it automatically the first time you open an Intel app. Performance with Rosetta 2 is good for most productivity apps (Office, older browsers, utilities), but you’ll notice a difference in heavy video or 3D editing apps that don’t have a native Apple Silicon version.
Before migrating, check whether you have updated, native (Apple Silicon) versions of your main apps: Adobe Creative Cloud, DaVinci Resolve, Microsoft Office, and most Mac App Store apps have had universal versions for a long time. If you use development tools or environments such as Docker, it’s worth checking first how they perform on Apple Silicon: we have a specific guide on how to use Docker Desktop on an Apple Silicon MacBook without it slowing down that can save you surprises if you work with containers.
Common problems
Migration Assistant stays on “preparing” for a long time. This is normal in the early stages if there are many small files (thousands of photos, for example). Give it at least 20-30 minutes before assuming it’s frozen.
The source Mac doesn’t appear in the list. Check that both Macs are on the same Wi-Fi network or connected by the same direct cable. Temporarily disable VPNs and third-party firewalls, which often block discovery between computers.
Insufficient space error. The M3 calculates the required space before starting. If it fails, go back to Step 5 and uncheck heavy folders to migrate them later manually with an external drive.
Intel apps won’t open or ask you to install Rosetta. This is expected the first time. Accept the installation when macOS offers it; it takes less than a minute.
The password keychain doesn’t transfer properly or asks you to re-enter passwords. This sometimes happens if the two Macs don’t share the same Apple ID or if two-step verification interferes. If you’d rather avoid these source-related hassles, you may want to move to a centralized manager: we have a guide on how to manage passwords with the Passwords app in iOS 18 and macOS Sequoia that makes this point much simpler after migration.
Alternatives to Migration Assistant
If for some reason Migration Assistant doesn’t convince you or fails repeatedly, you have other options:
| Method | When to use it | Main limitation |
|---|---|---|
| Restore from Time Machine | If you already have a backup and prefer not to connect the two Macs | Slower than a direct cable |
| iCloud (Photos, Contacts, Calendar) | To sync only certain data, without a full migration | Doesn’t move apps or system settings |
| Manual copy with external drive | If you only need to move specific folders | You lose app settings and configurations |
| Setup from scratch + reinstalling apps | If you want to “start clean” without dragging old clutter along | Longer process, everything has to be reinstalled manually |
Setting up from scratch has its audience: people who have accumulated apps for years and prefer to use the new Mac to clean out what they no longer use. It’s more work in the short term, but it leaves the system lighter.
Frequently asked questions
Can I migrate from an Intel Mac to a MacBook Air M3 without a cable, just over Wi-Fi? Yes, it’s fully supported. Just keep in mind that with large volumes of data (200 GB or more) the process can take several hours compared with 30-60 minutes over a cable connection.
Are Live Photos or videos lost when migrating? No. Migration Assistant transfers the complete Photos library, including Live Photos, metadata, and albums, as long as you select the full user account in Step 5.
What happens with apps that are no longer available on the Mac App Store? They’re copied anyway if they were installed locally on the Intel Mac. The problem appears if you need to reactivate the license or if the developer no longer offers support for Apple Silicon.
Can I migrate only part of the data and not the whole disk? Yes. In Step 5 of Migration Assistant you can uncheck user accounts, specific folders, or particular applications before starting the transfer.
Does Migration Assistant work the same if I’m coming from an older Intel MacBook Pro, like a 2015 model? It works, but first check which macOS version is installed. If it’s stuck on macOS Catalina or earlier, update it first or use the restore-from-Time-Machine option, which usually causes fewer problems with very old systems.
As an Amazon Associate, I earn from qualifying purchases.